3D Torch Effect (Beginner)
This guide walks you through creating a simple 3D torch effect in Pixelpart from scratch. We’ll also integrate the finished effect into a game using the Godot engine as an example.
Note
Beginner level: You can follow this guide without any prior knowledge about Pixelpart.
Creating a new 3D effect
The first thing to do is create a new 3D effect:
click New effect… in the middle of the screen,
select 3D in the dialog and leave the other settings as they are,
finally, select Create.
You will now see the main workspace, including
the Object browser on the left, which shows the nodes (emitters, force field, etc.) as well as the particles types in your effect,
the Scene window showing the live effect in action,
the Timeline window at the bottom, where you can skip through the effect, pause it and adjust the timing of emitters and other node,
and the Properties window to modify the behavior and appearance of nodes and particle types.
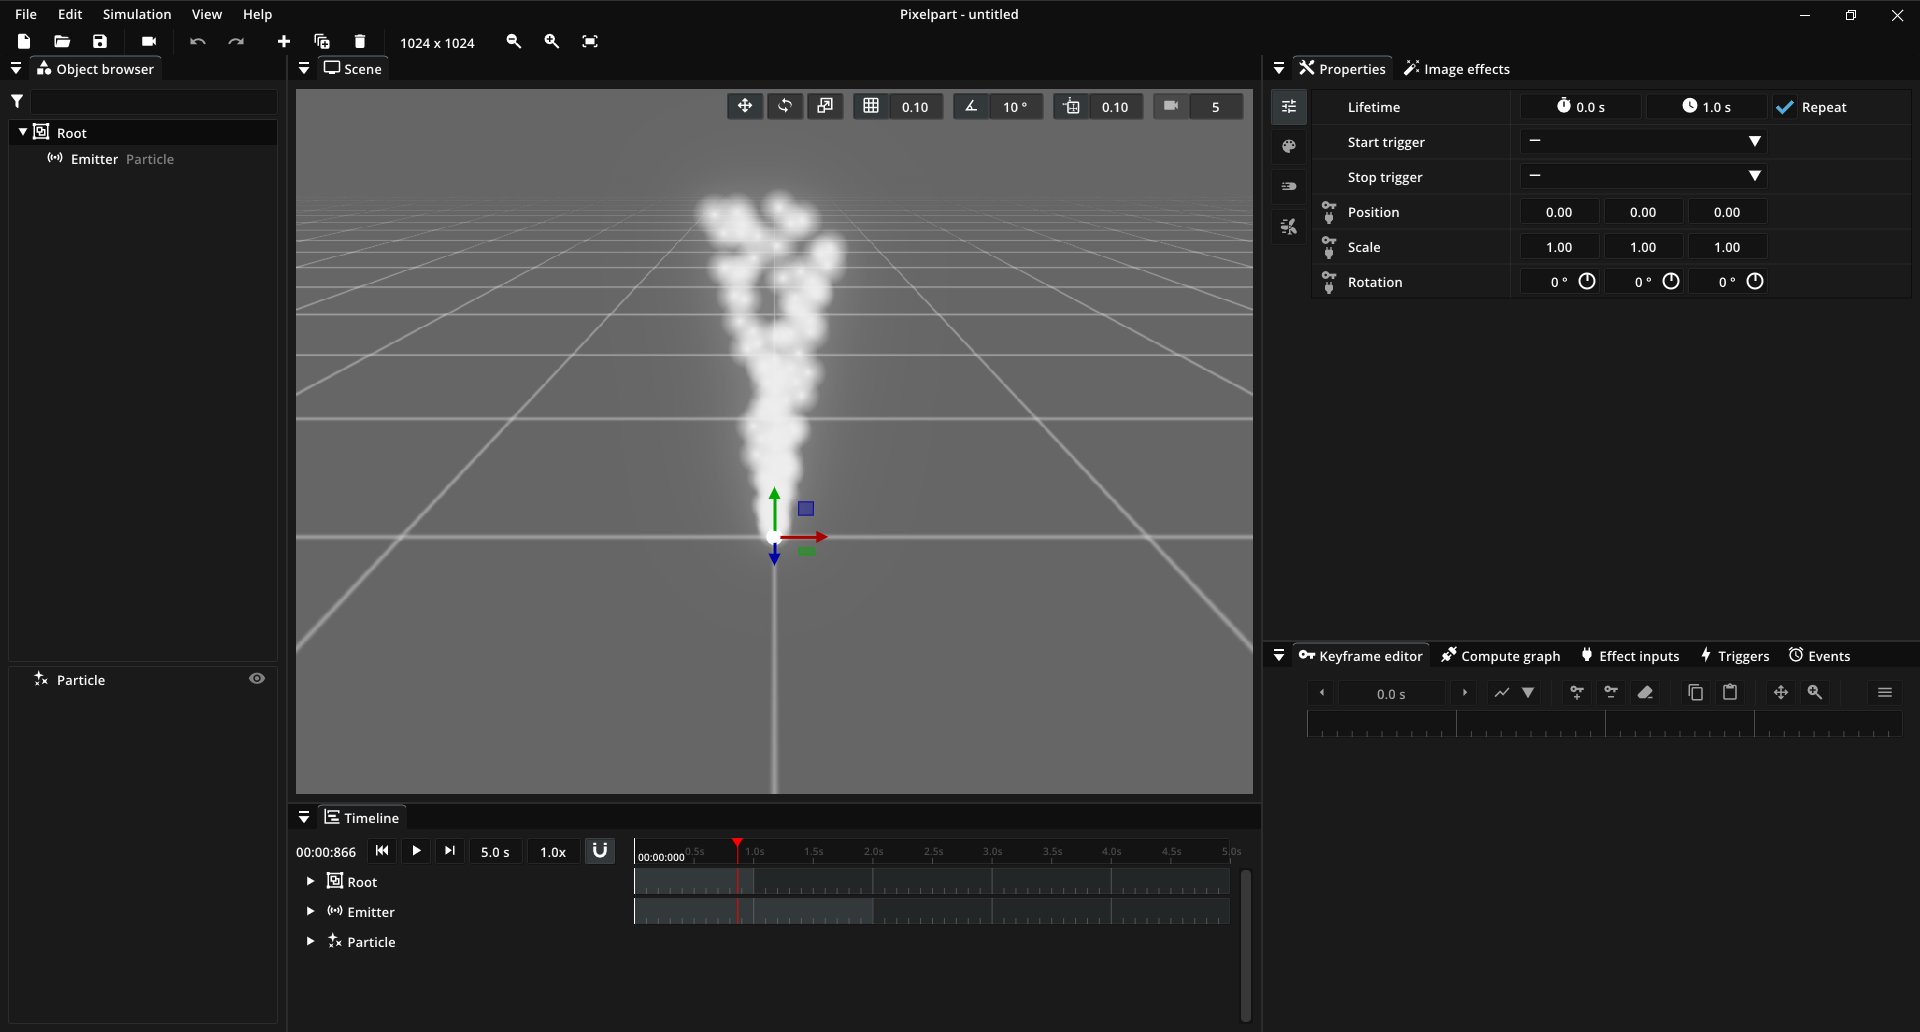
The white particles you see in the Scene window are the default particles Pixelpart creates automatically. You can move around in the scene with W, A, S, D while holding down the right mouse button over the scene.
First, we’ll create particles for the flames. To create particles you’ll always need both a particle type, which defines the behavior and appearance of the particles, and a particle emitter, which defines when and where particles are created.
Flame particle type
To create a flame particle, we’re going to modify the existing default particle to look more like a flame. First, let’s rename the default particle type:
In the Object browser, select the particle type
Particleat the bottom.Double-click it and enter the new name
Flame particle.Press Return.
Now, we’re ready to modify the particle’s properties in the Properties window.
First, assign a different sprite to the particle in the Visual tab. You can open this tab by selecting on the left side of the Properties window. Click in the Material property to open a popup showing all material properties. Then click the button for the particle’s Main Texture. A dialog will appear where you can select the desired image. If you want to browse the built-in textures, scroll while holding Ctrl to zoom in. In our case, we’ll go with flame_01.png. Click Import to assign the image as a sprite for the particle.
Next, change the particle color. Double-click the color gradient (Color property) to add new colors. For the flame particle, use a gradient from yellow to orange.
The colors still don’t glow like real flames. To achieve this, use the SpriteUnlitAdditive material, which you can select from the dropdown in the Material property. Additive materials add particle color values together instead of blending them with transparency, so they appear to “glow”.
You may notice that the flame particle seem to end abruprly instead of fading out smoothly. We can fix this by animating the opacity property of the particle. Click the name of the Opacity property in the Visual tab and open the Keyframe editor in the bottom-right corner. Animating properties works by defining keyframes that control how a property changes over time. Pixelpart smoothly transitions (interpolates) between these keyframes. Start by right-clicking in the Keyframe editor to add a new keyframe. Then drag the keyframe to the bottom right so the particles have an opacity of 0 (fully transparent) at the end of their lifetime.
The symbol next to the Opacity property should now also be highlighted indicating that this property uses keyframe animation. The particles are starting to look like flames, but they still appear too uniform because the texture always has the same orientation. To fix this, set the first value of the Rotation variance property to 360° in the Motion tab by double-clicking in the input field and entering 360. This randomizes the particle orientation.
The flames also rise a bit too high, so decrease the Initial velocity to 0.5 and add some randomness by setting Velocity variance to 0.2.
Back in the Visual tab, add some variation to the particle size by increasing the Size variance value to 0.08.
Flame emitter
For the flame emitter, we’ll make a few minor adjustments to the default emitter. First, rename it to Fire emitter as we did with the particle type.
Next, change the emitter Shape from Point to Sphere. This causes particles to be emitted within a small sphere instead of a single point. You can adjust the size of the emission sphere by selecting the scaling gizmo with R while hoving over the scene view.
Good job! Your effect should now look similar to this:
Once you’re done creating the effect, make sure to save it as .ppfx file like Torch.ppfx.
Integration into Godot
We’ll now integrate the effect into a game using the Godot engine as an example. You can follow similar steps for the Unity engine. This guide assumes you have already installed the required plugin. Documentation for different engines is available at https://pixelpart.net/plugins.
Importing the effect
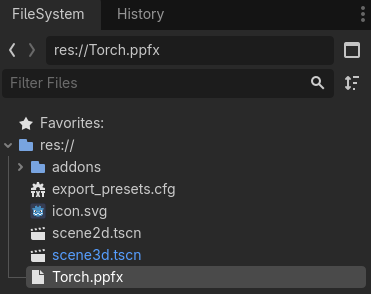
To import the effect into your Godot project, simply move the Torch.ppfx to the project folder. If you’ve installed the plugin correctly, the editor should show the Torch.ppfx file in the file system tab.
Creating the effect node
Every effect you want to display must be attached to a PixelpartEffect node (or PixelpartEffect2D node for 2D games). Start by adding such a node to the scene and name it TorchFlame. After selecting the node, drag the Torch.ppfx resource onto the Effect property in the node inspector. You can leave the other properties at their default values.
Congratulations! You’ve successfully integrated the effect into your game. The effect node works like any other node in the scene. For example, you can attach the effect to a torch model by placing the TorchFlame node under a common parent node together with a MeshInstance3D node for the torch model.
When you run your game, you’ll see the effect in action: